How to setup your own DNSCrypt server in less than 10 minutes
The easiest way to run your own server is probably to use the unbound-dnscrypt-server docker image.
Here is how to get from zero to a full working server in less than 10 minutes.
The following procedure was made on a Scaleway server, but they can be easily adapted to other cloud providers.
You don't need an expensive, beefy server. A common belief is that a public DNS resolver needs a lot of memory. But the cache hit ratio doesn't increase linearly with the cache size. There are little practical benefits in having more than 1 GB RAM in a caching resolver.
I chose a Scaleway VC1S. For Eur 2.99 (~ $3.67) a month, this gets you unlimited bandwidth, 2 GB RAM, and way more CPU power that you will ever need run a typical public DNS cache. Since I'm not gonna store any logs, disk space is not important.
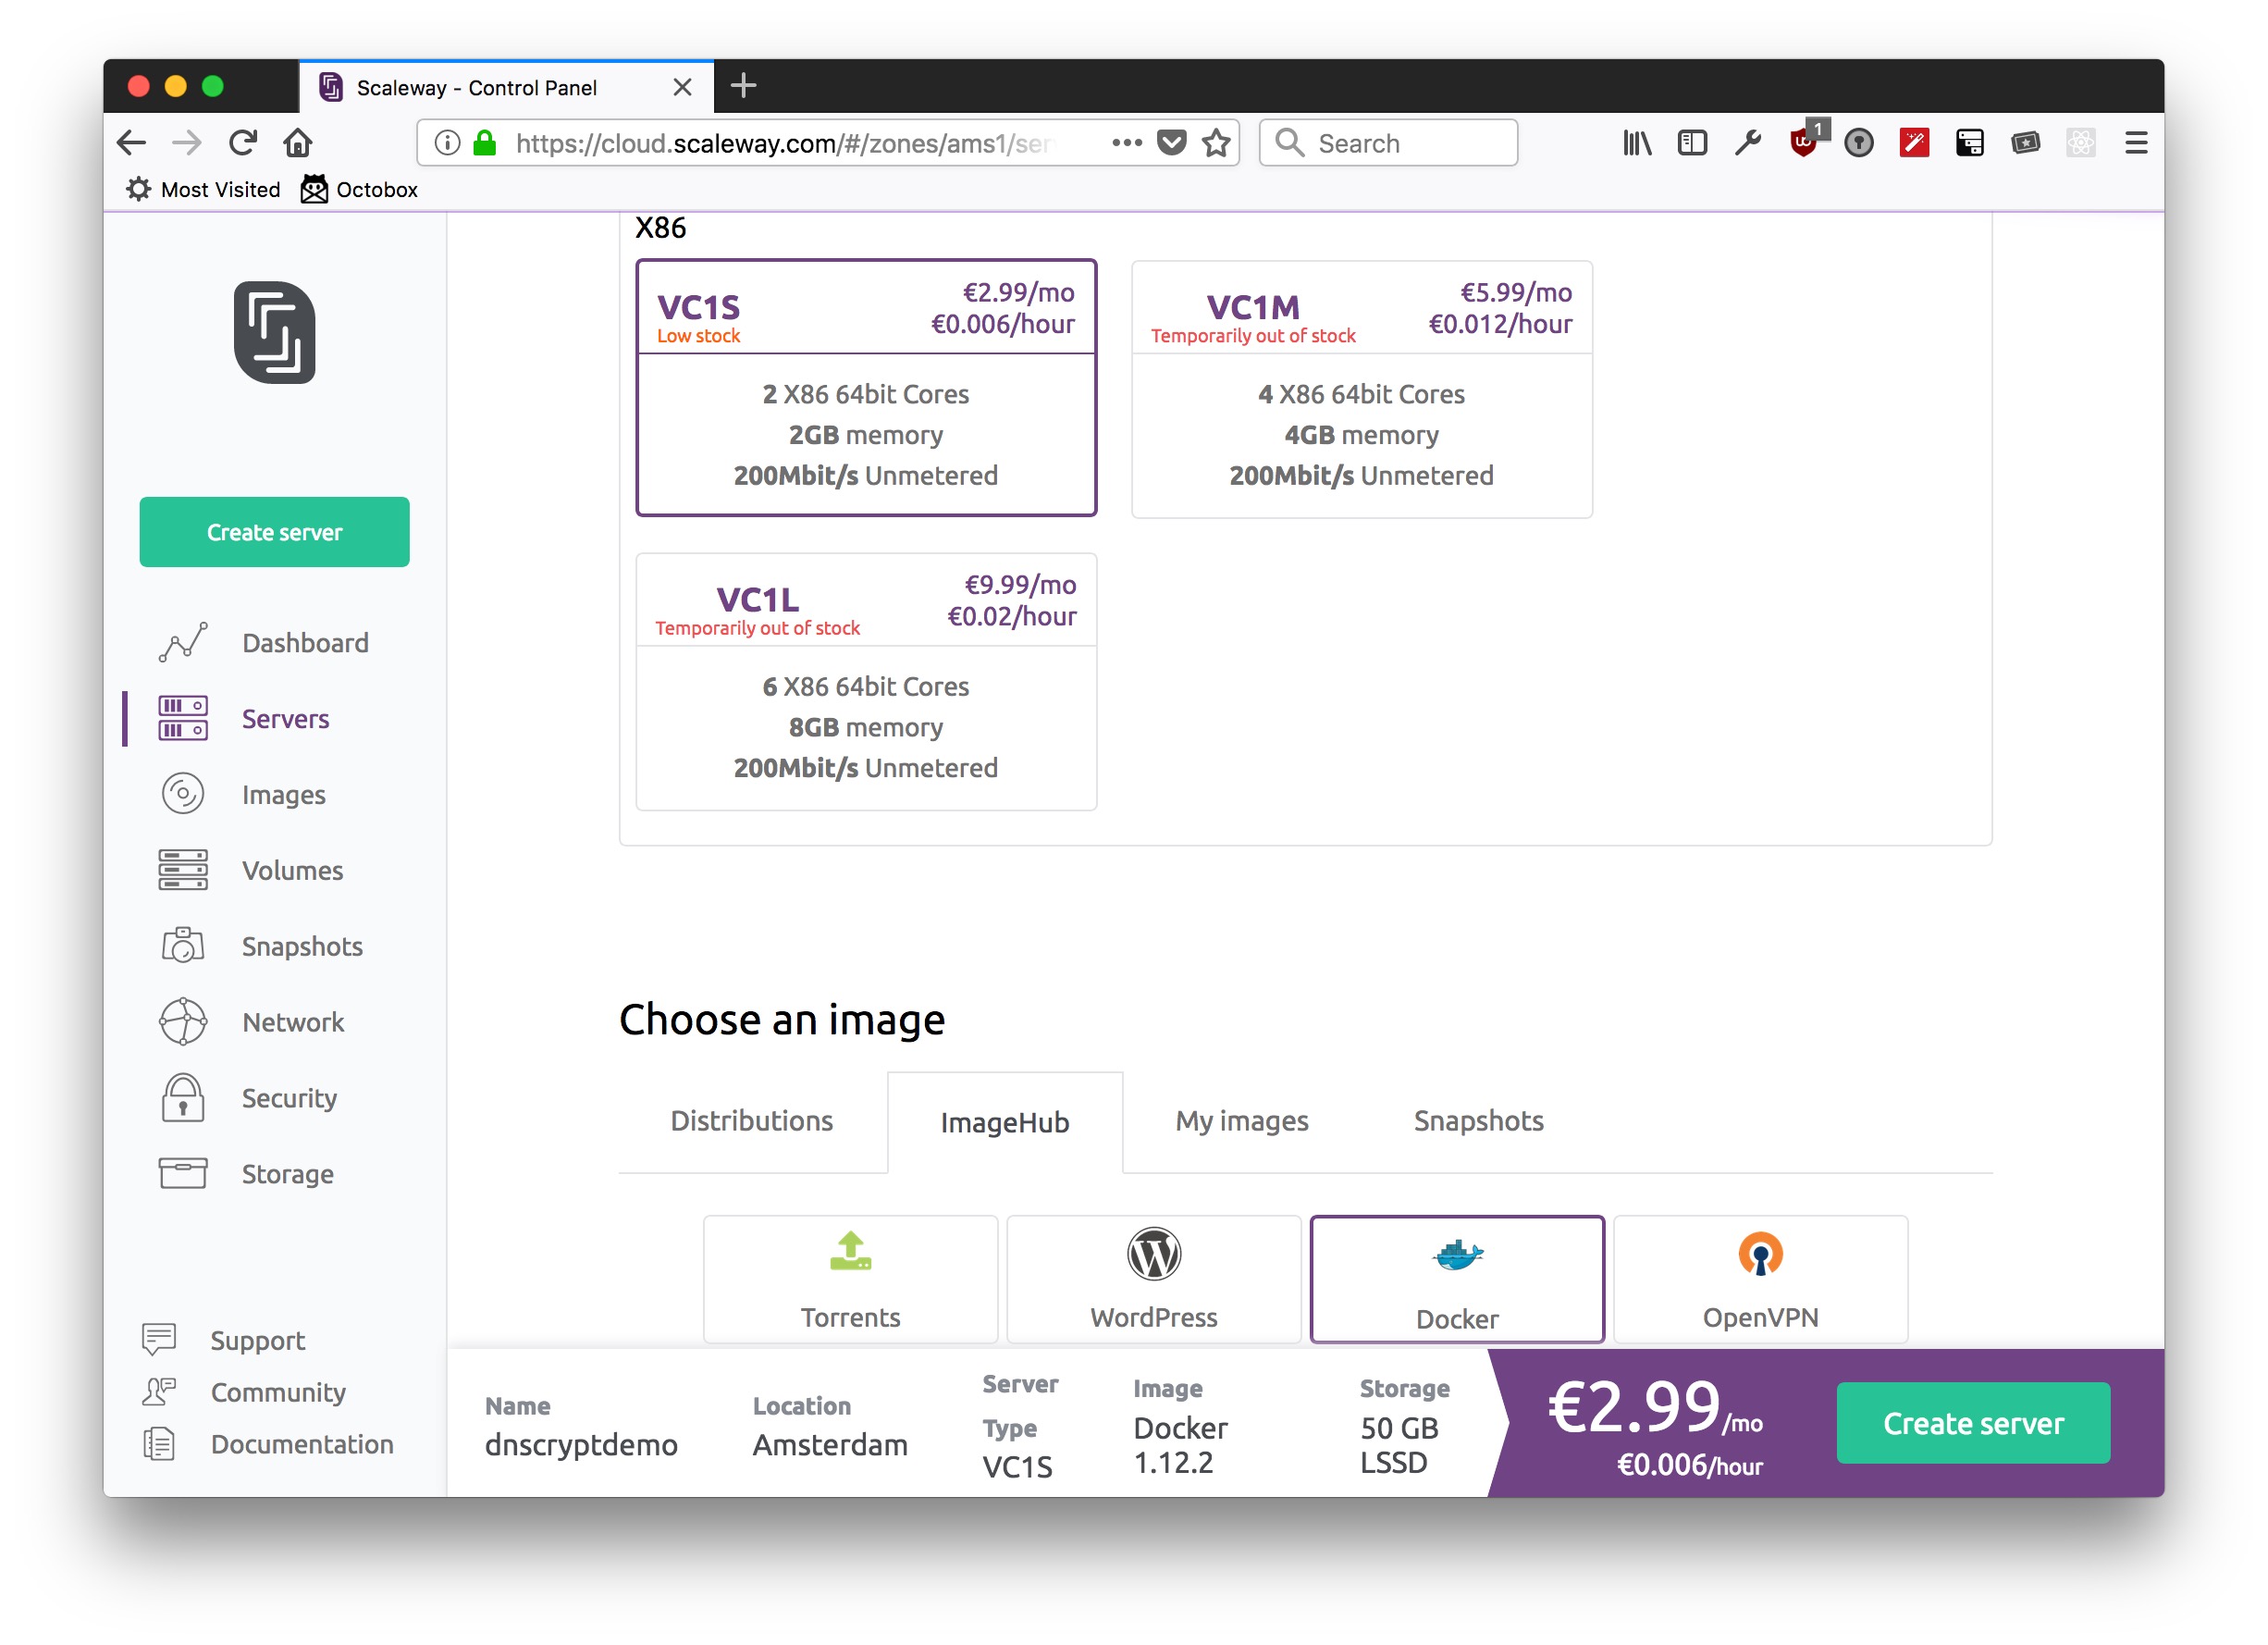
I then chose "Docker" as an image, and made sure that "allocate a public IP" was checked.
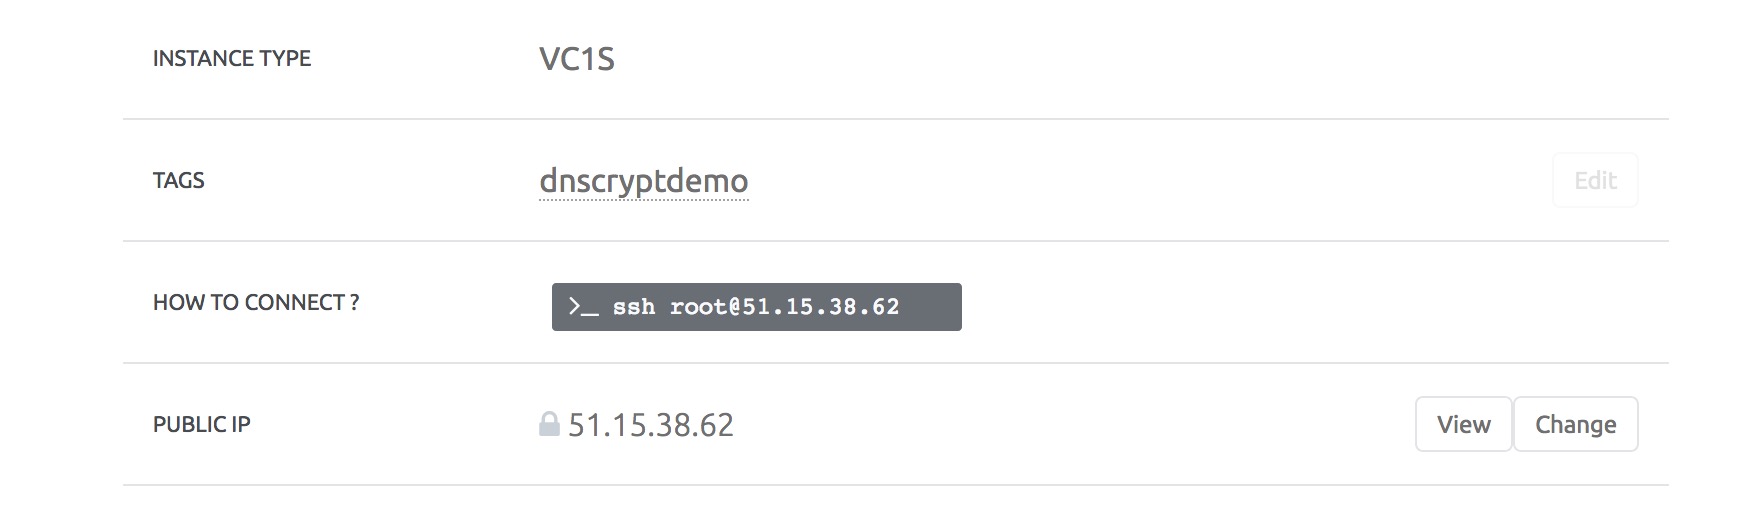
1 minute later, the host was up and running, my public IP was allocated, and I could ssh to it right away.
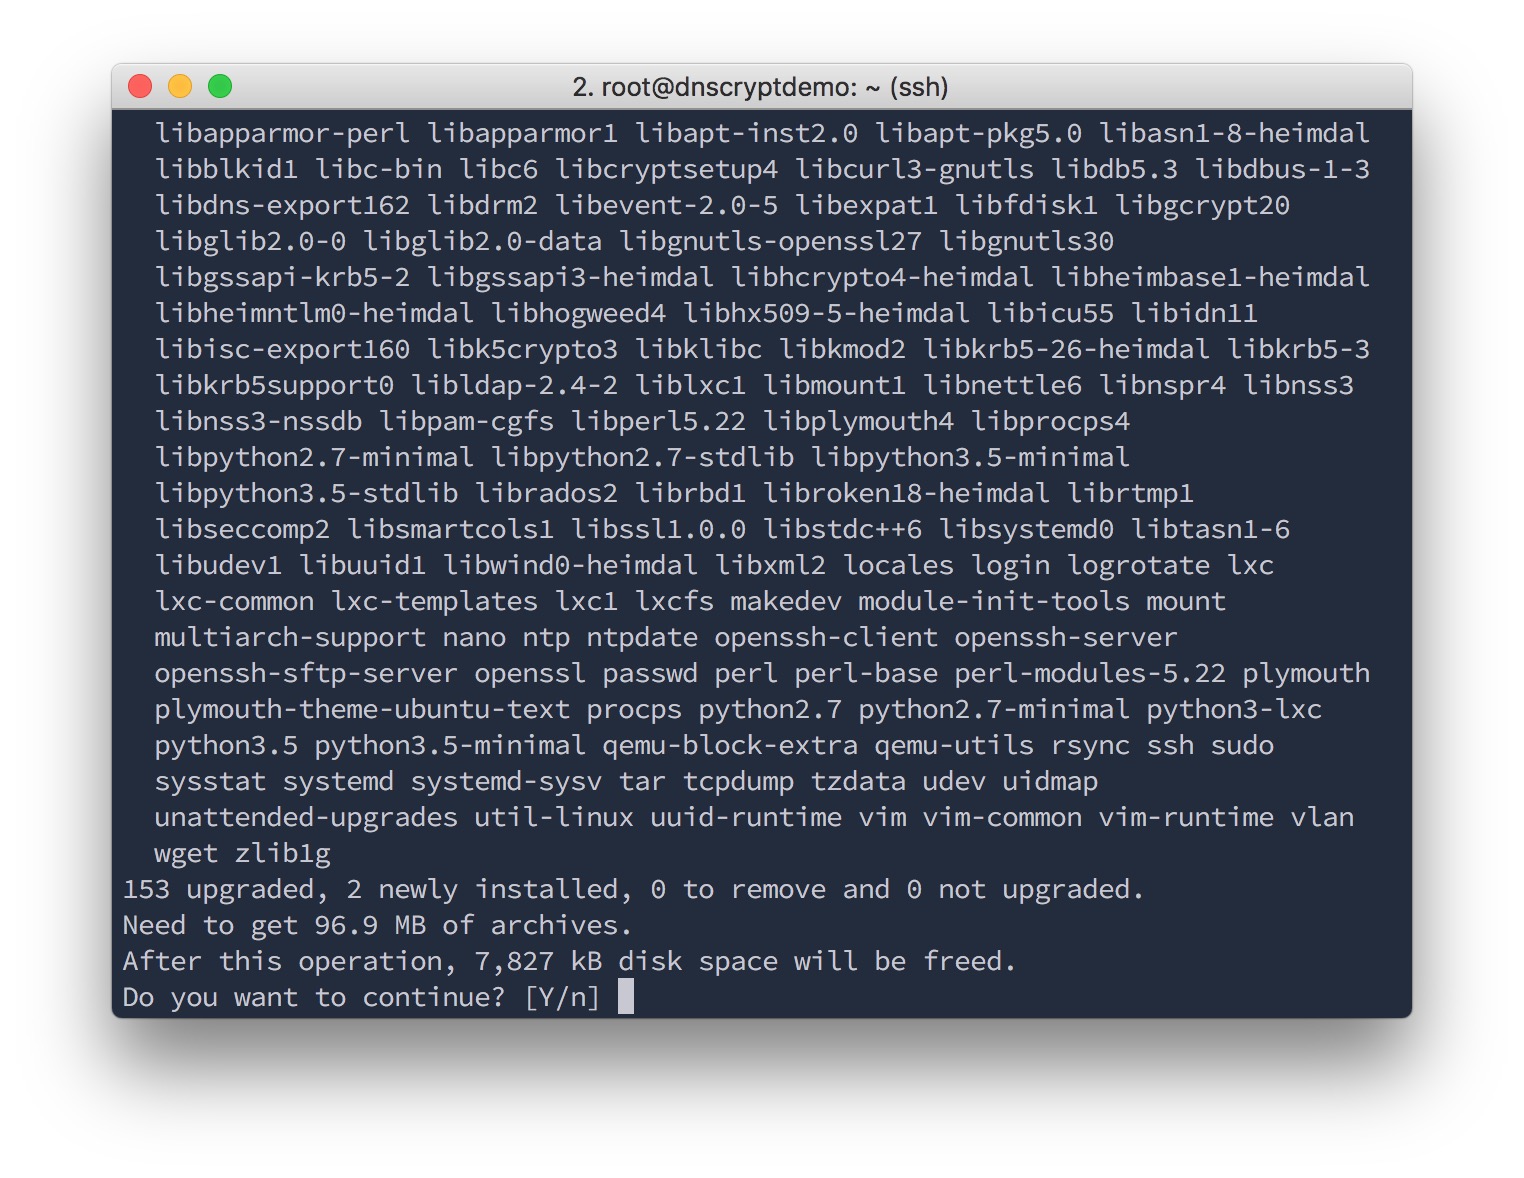
After a new instance of a base image spawned, it might not be a bad idea to update the system.
apt update; apt dist-upgrade confirmed that it was worth it.
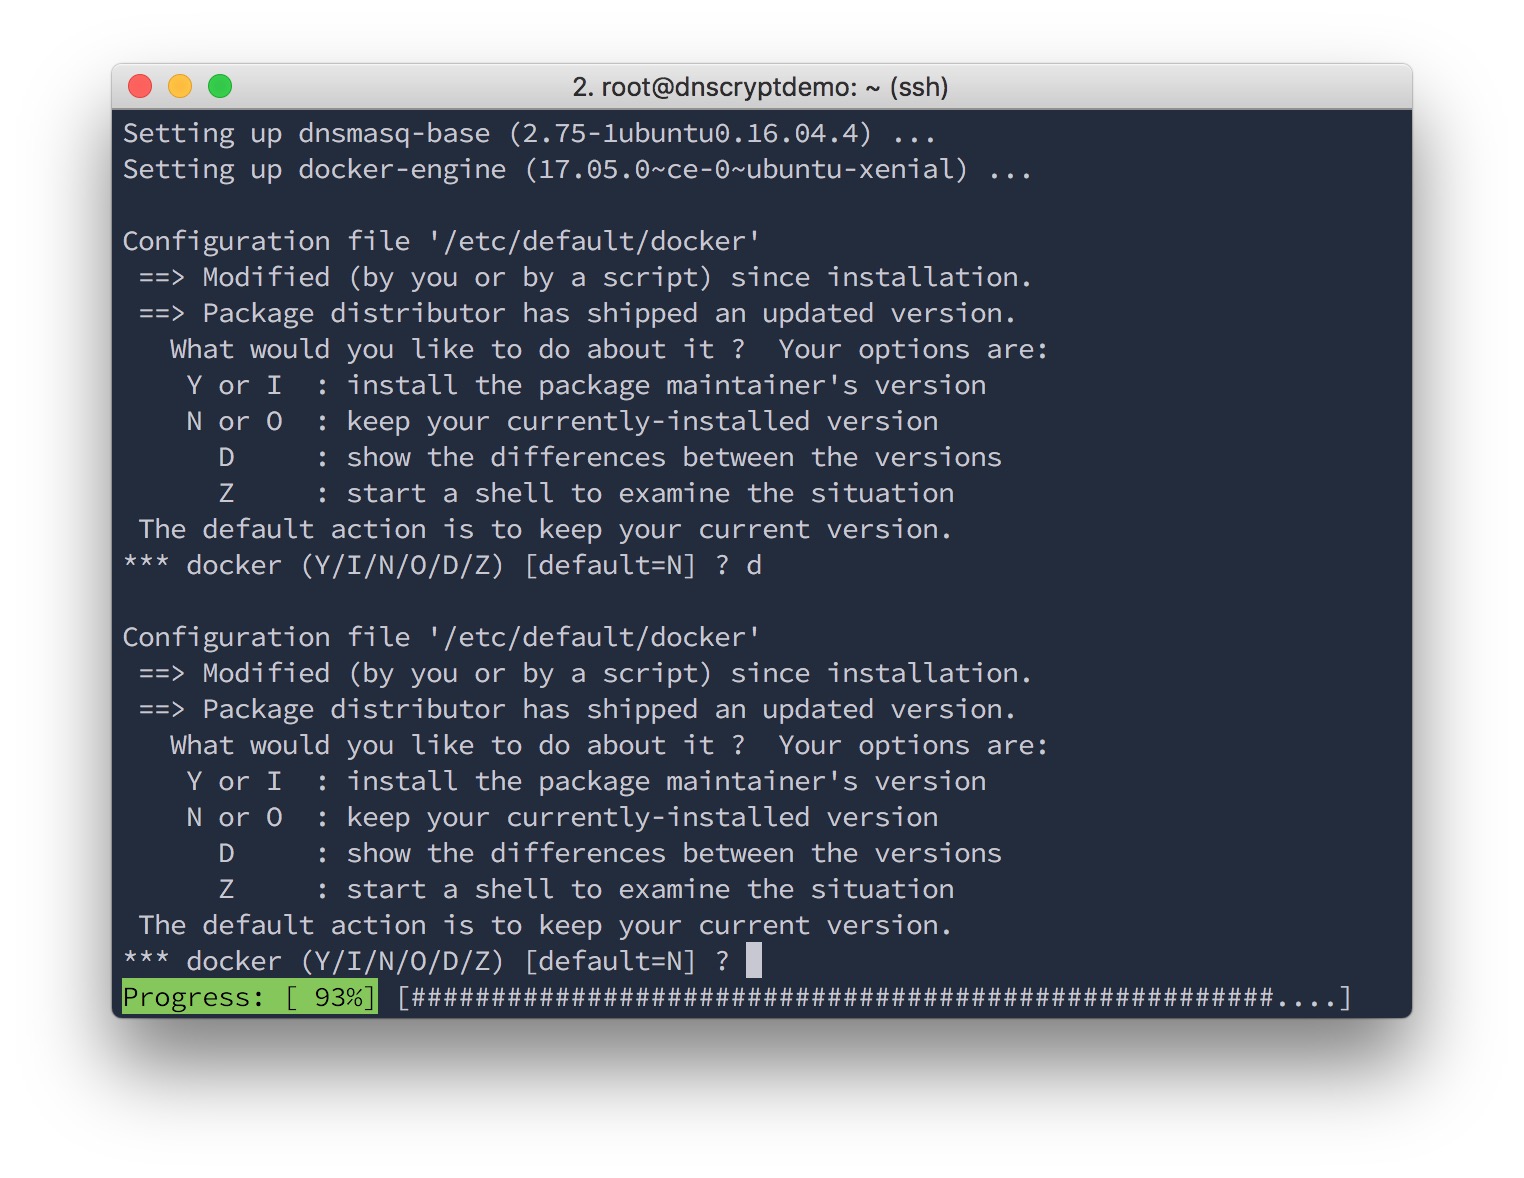
Looks like the Scaleway Docker image comes with a change to the default Docker configuration, so apt asked whether that change should be kept.
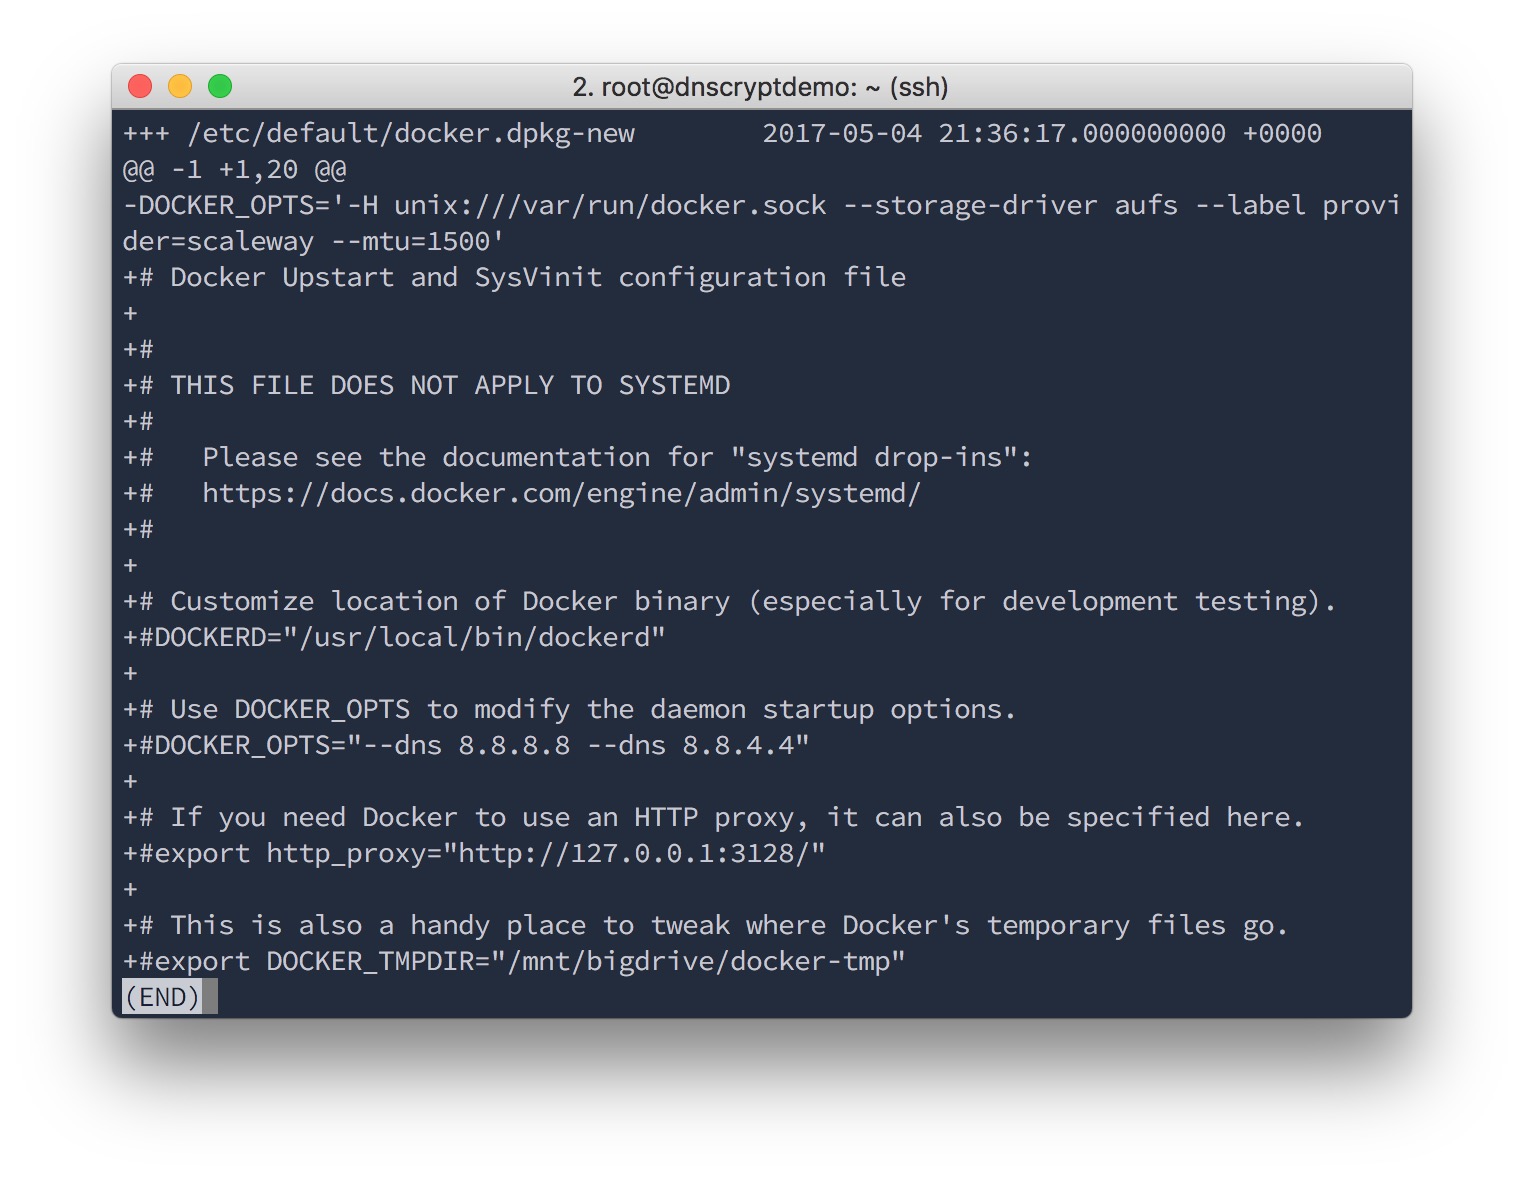
These changes look pretty legit, so I didn't want to overwrite them, and just chose "No, keep the file as it is".
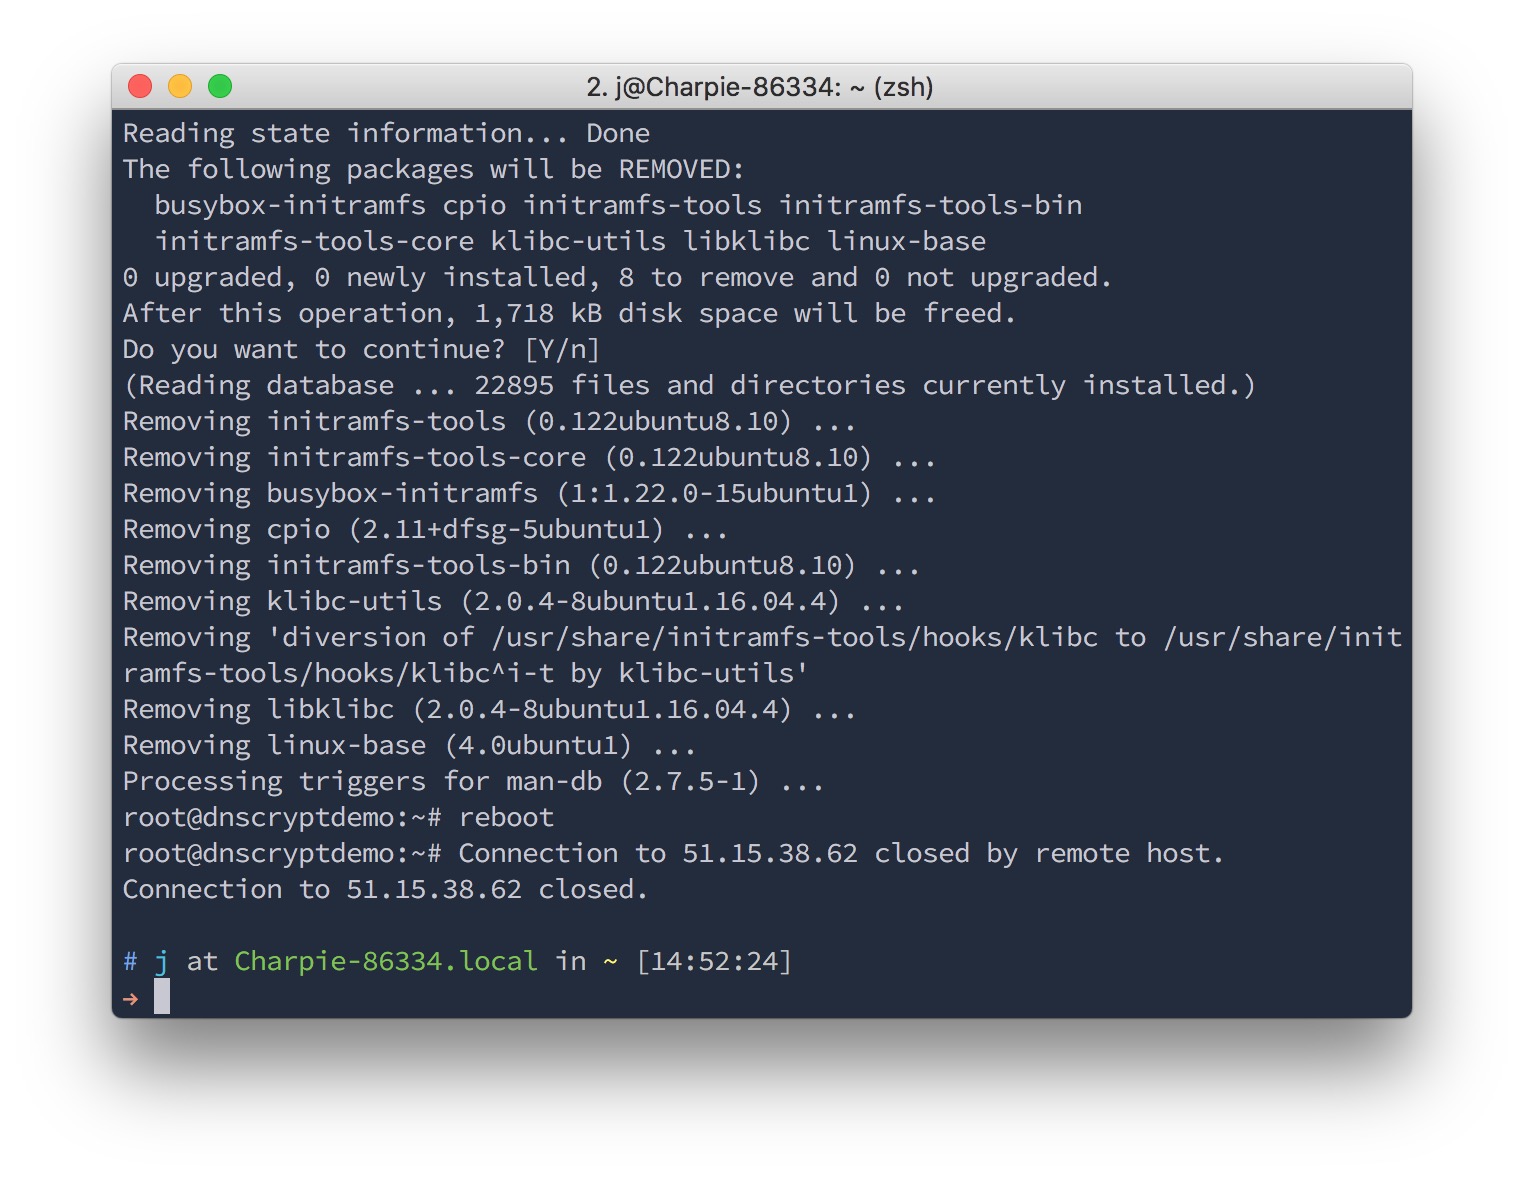
At that point, you can use apt autoremove to remove unneeded packages if you like. Then, reboot the system. Not strictly necessary, but since nothing's running on the server yet, now is a good time to check that it can still boot perfectly.
docker run --name=dnscrypt-server -p 443:443/udp -p 443:443/tcp --net=host \
jedisct1/unbound-dnscrypt-server init -N example.com -E 51.15.38.62:443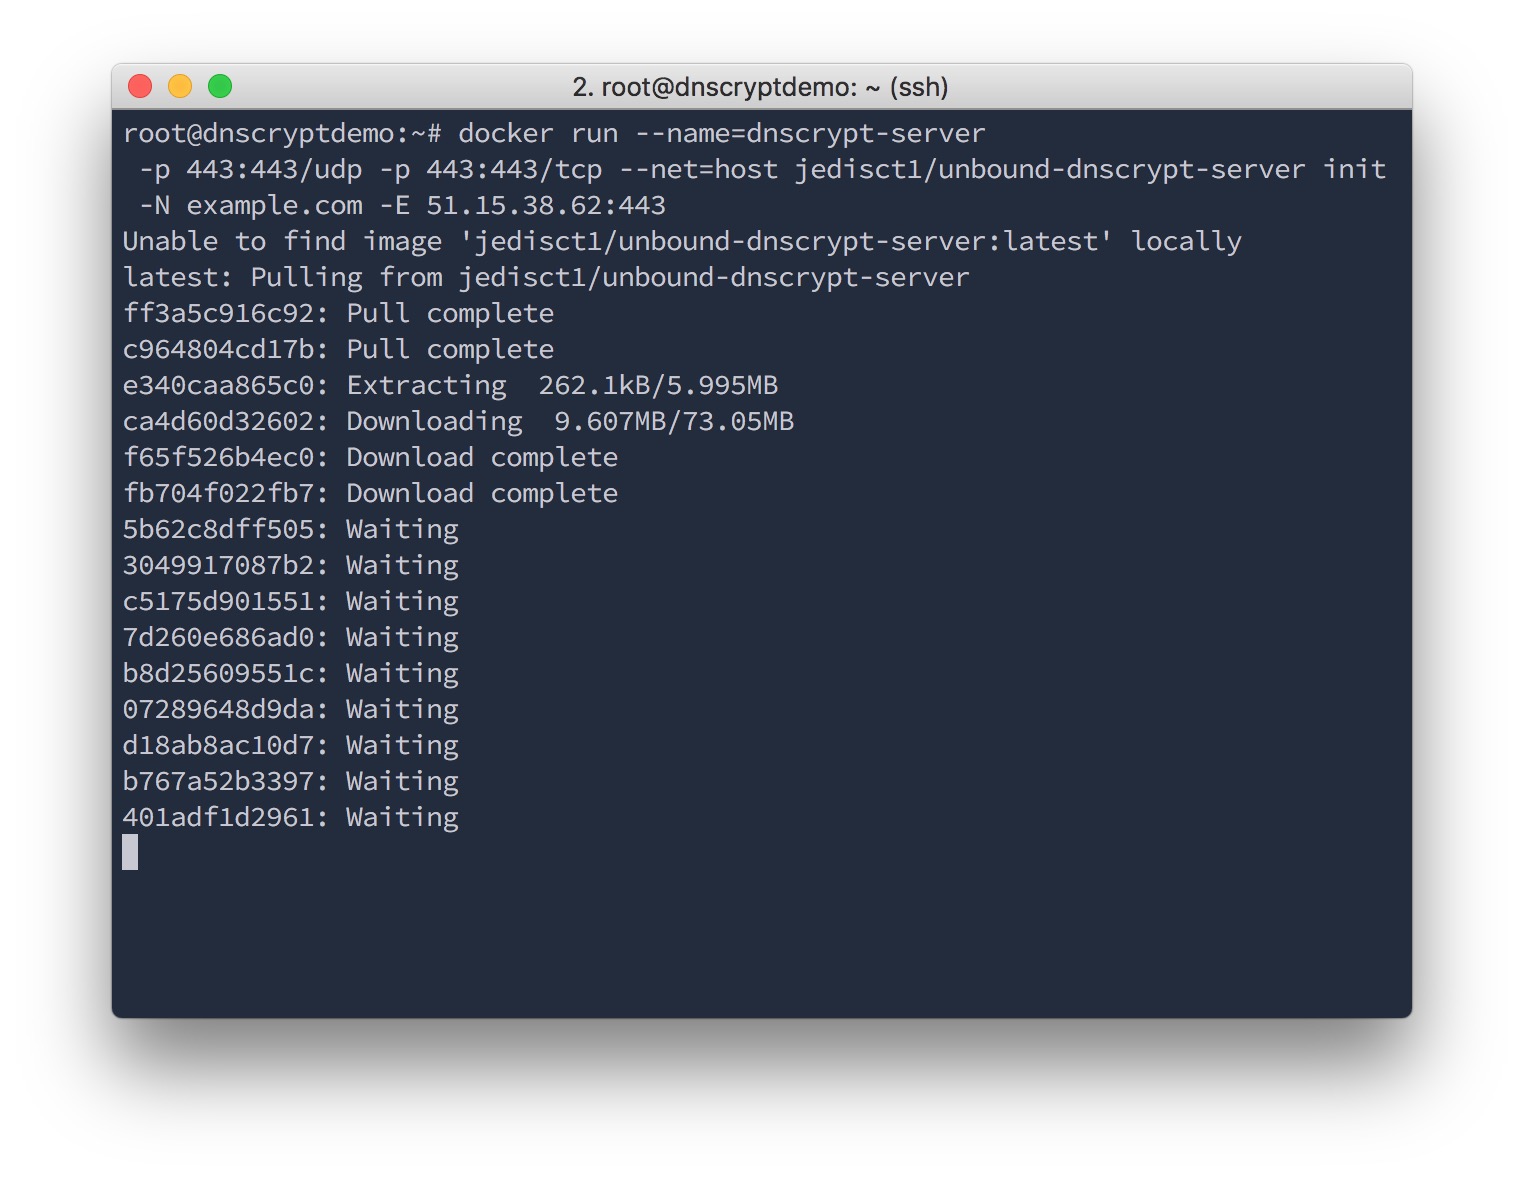
51.15.38.62 is the external IP address of the server; the one I ssh'd to.
example.com is the name of my forthcoming brand new shiny DNSCrypt server. That's a pretty bad name. Try to be more creative, and more unique.
The commands quickly downloads and configures the image.
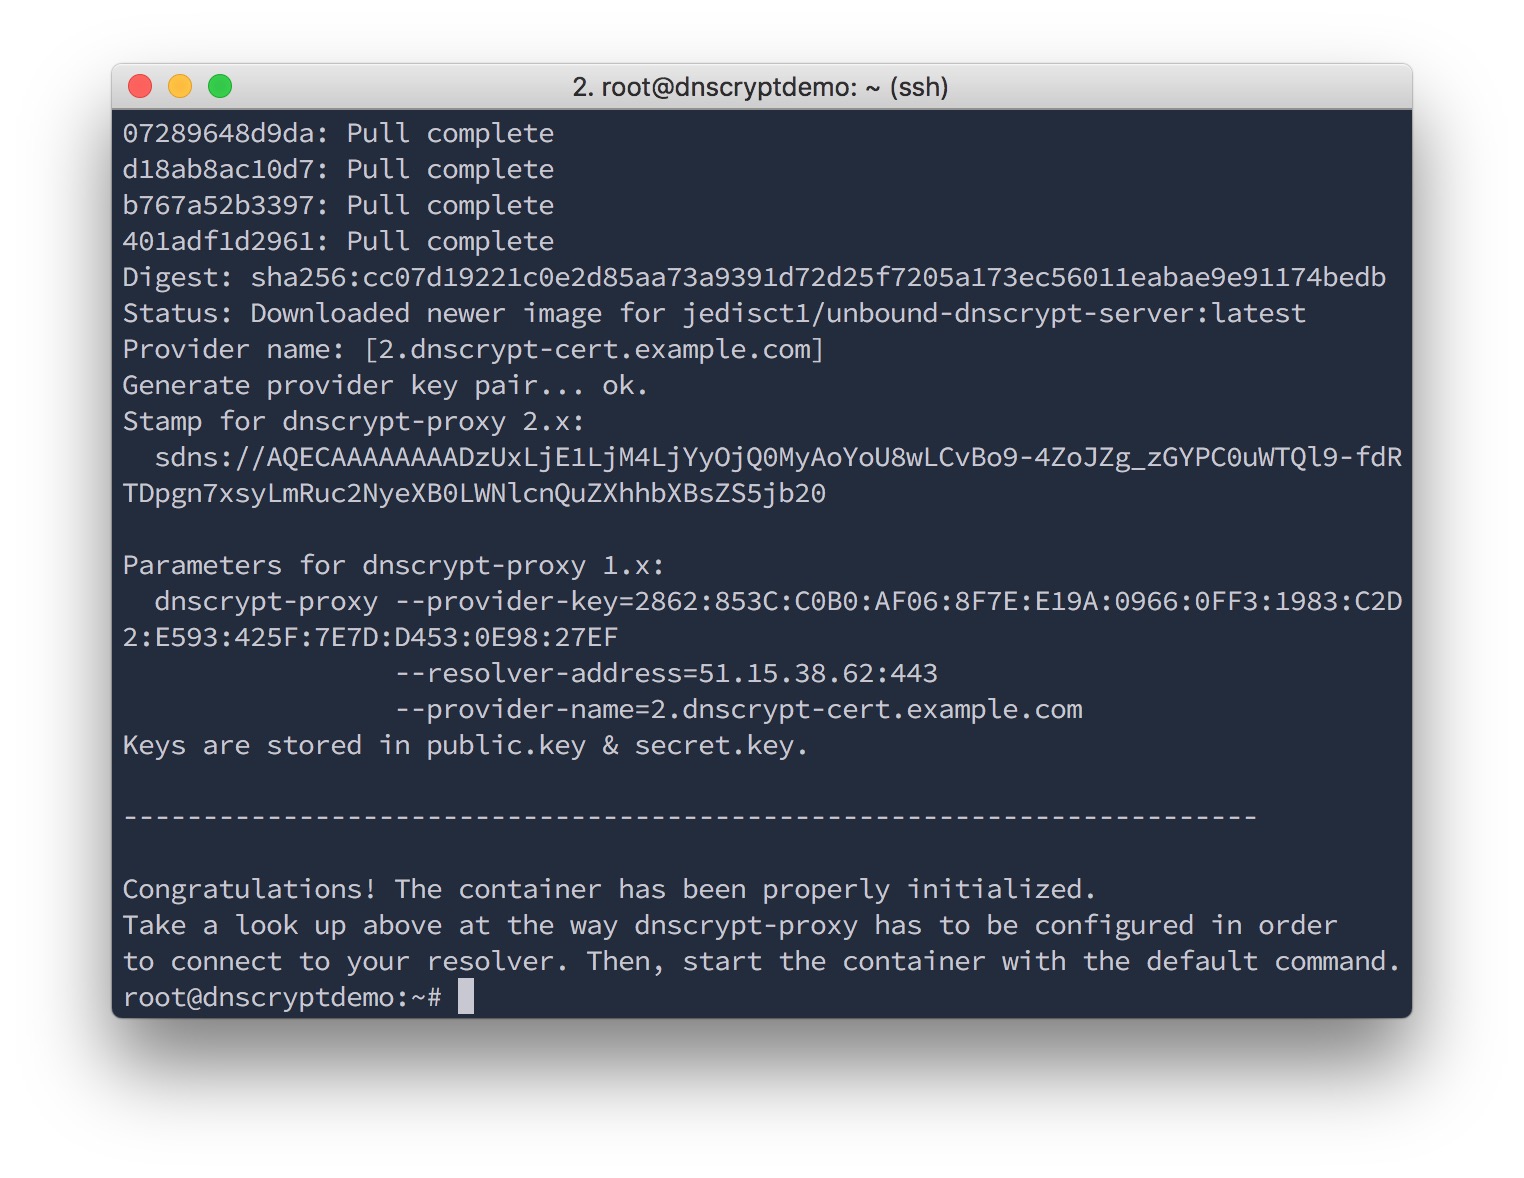
Boom, the server is configured. Keep a copy of what the command just printed, such as the stamp. This is what you will need to give to clients so they can connect.

docker start dnscrypt-serverDone. Your DNSCrypt server is up and running. It's doing caching, DNSSEC validation, it supports the latest version of the DNSCrypt protocol, it monitors itself.
If you want to make it start automatically after the server reboots, just type:
docker update --restart=unless-stopped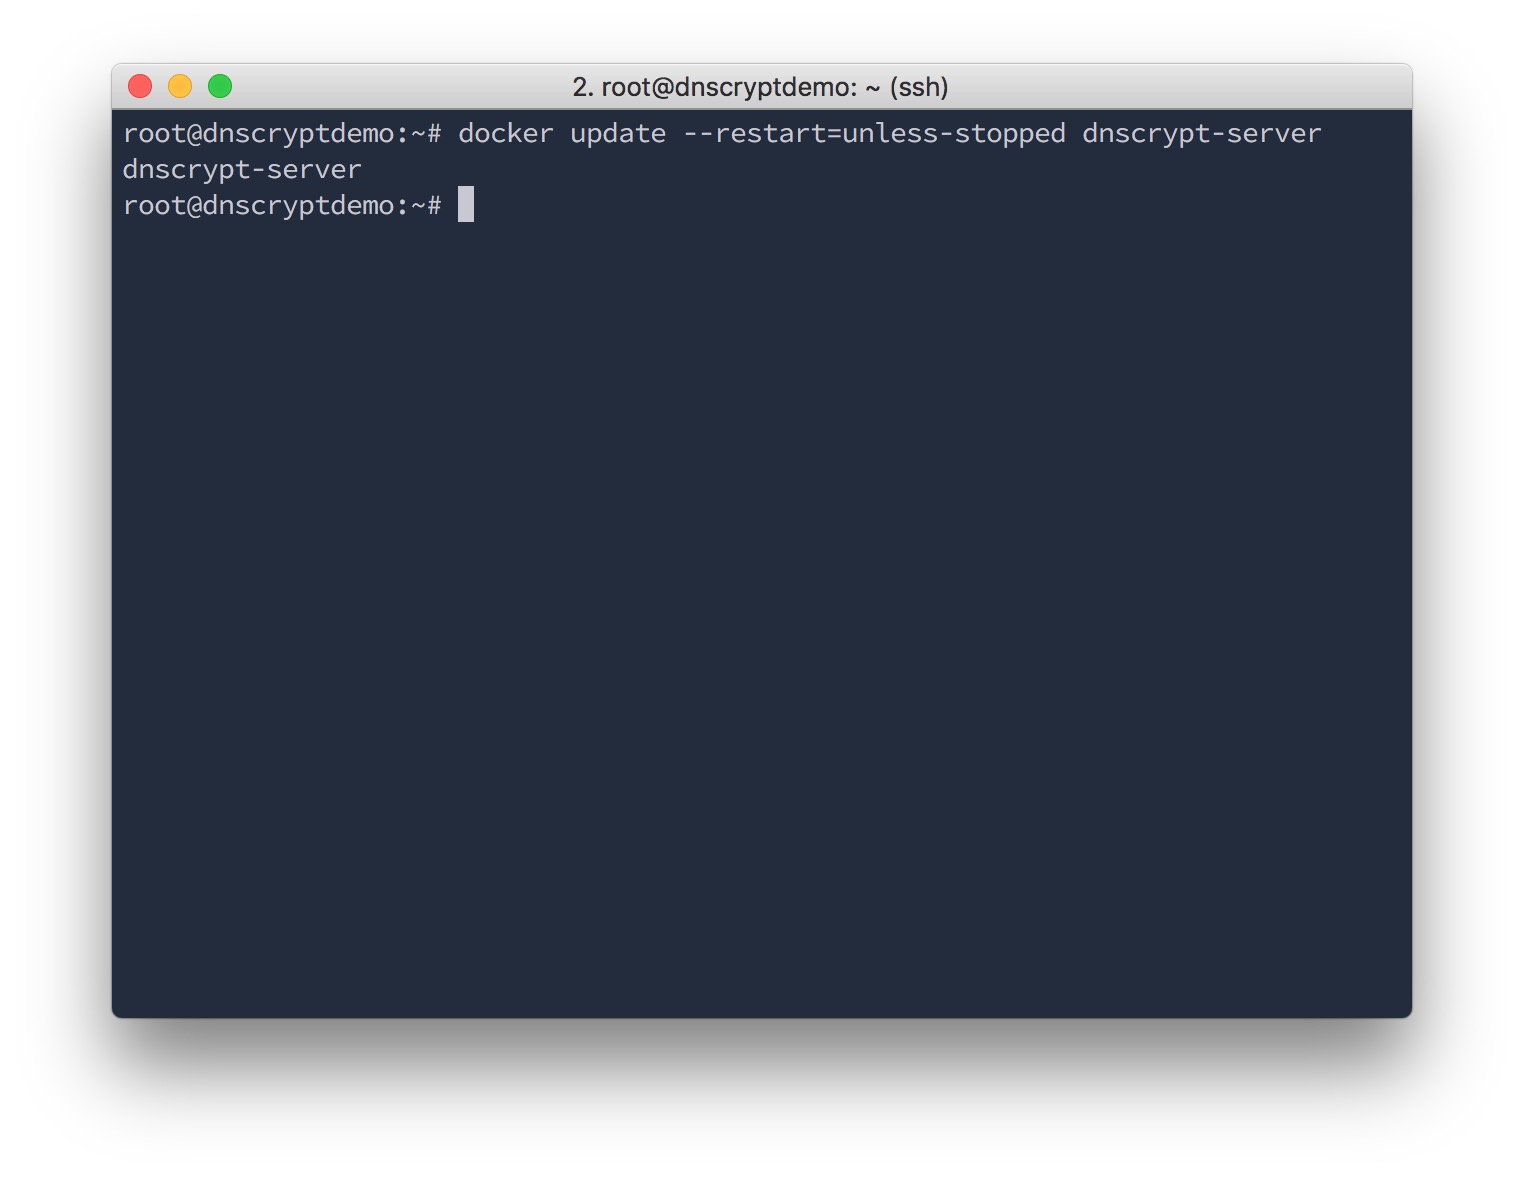
If you are using dnscrypt-proxy 2, add the stamp of your new server to the configuration file, and its name to the list of servers to use:
server_names = ['scaleway-ams']

[servers]
  [servers.'scaleway-ams']
  stamp = 'sdns://AQECAAAAAAAADzUxLjE1LjM4LjYyOjQ0MyAoYoU8wLCvBo9-4ZoJZg_zGYPC0uWTQl9fdRTDpgn7xsyLmRuc2NyeXB0LWNlcnQuZXhhbXBsZS5jb20'
Enjoy your new server, and share it with the world!