Getting Started
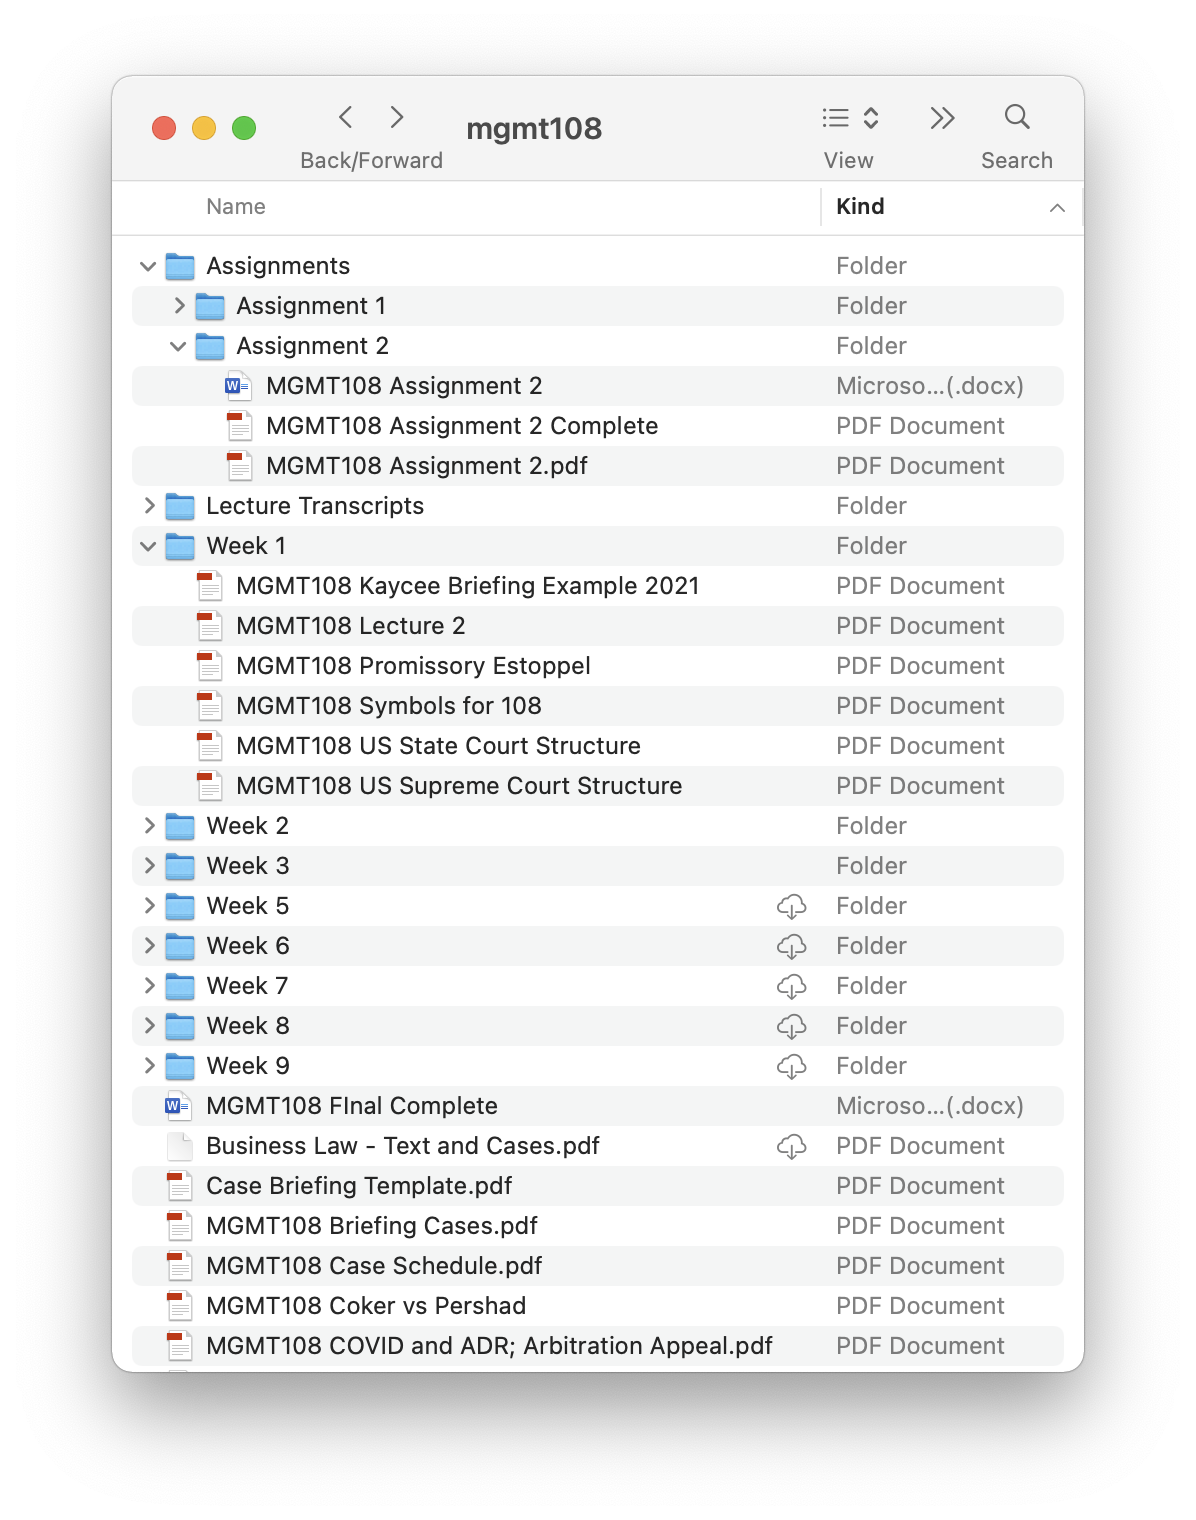
Knowledge Canvas works with two main data types: Projects and Knowledge Sources. Projects are used to organize Knowledge Sources, in the same way files are stored in folders on a computer. From the following screenshot, we can see that folders can contain any number of files and sub-folders. In the same way, Projects can contain any number of Knowledge Sources or Sub-Projects.
To do anything in Knowledge Canvas, you first need to start a Project. Doing so is easy:
- Click the
Projectsbutton on the top toolbar

- Click
+ New Projectin the Project Sidebar

- Give the project a
Titleand clickCreate

Additionally, you may choose to modify the other fields shown in the New Project window. Those fields are described in the Project Properties section below.
A Project has the following properties:
-
Title: must be 3 or more characters long -
Start Date(optional): the start date for your project -
End Date: (optional) the end date for your project -
Type: simply a way to categorize projectsDefaultSchoolResearchHobbyWork
-
Subject(optional) -
Topics(optional) -
Description(optional) -
Parent Project(optional) -
Child Projects(optional)
Now that we have a project to work with, let's go ahead and add some Knowledge Sources. We'll explain what a Knowledge Source is and how they are used later. For now, just think of a Knowledge Source as any file, web link, document, image, etc. There are several ways to do so:
- Drag-and-drop
- Select files from a list
- Paste a link
- (Advanced) Enable file watcher