Image Importer
The Buzzard Image Importer is designed to serve both the practical purpose of silkscreen logo creation as well as the artistic purpose of "PCB Painting," or composing an image using a combination of the mask, silk and copper layers of the PCB. In theory, it could also be used to import complex geometries to the copper layer for applications such as RF design.
When you open the Image Importer, you'll find a preview pane on the left side that looks like a piece of bare FR-4. You may notice the faint "BUZZARD" stamps on the canvas, this is not a watermark and will not appear on your converted image. It's intended as a visual cue to the fact that there is no solder-mask present. On the right side are a series of controls labeled for each of the three configurable layers.

To begin, choose the image file that you want to import. The tool should support any image type that your browser will render into a canvas object including JPG, GIF, BMP, PNG, SVG and more. After you've selected your file, nothing will appear in the preview pane until you've chosen a layer to render. Since we're importing to the silkscreen layer, check the "Render" box under the silkscreen controls. You should notice that your image is now in the preview pane. By default, Buzzard will render the silkscreen layer in white and the soldermask layer in black. You can change both of these by clicking on the color select boxes under each control. Note, however, that this feature is intended for preview only and has no effect on the color of the manufactured product, which will depend on the capabilities of your fab-house.

If you choose to render only the silkscreen layer, Buzzard will change the background to emulate the look of your silkscreen on top of soldermask. Because silkscreen is a single color process, your image has been reduced to a single color using a threshold function. You can adjust the sensitivity of the threshold function using the slider under the silkscreen controls until your image looks the way you intend. You also have the option of inverting the threshold function depending on what you're trying to achieve.
By default, Buzzard will assume that the longest dimension of your image is 405mm long and will calculate the other dimension in order to maintain the original aspect ratio of the input image. Changing either dimension will scale the output image while maintaining its output ratio.
Clicking the "Download EAGLE Library" button will create an EAGLE library file named after the input filename and containing a single device which is your output image.

Representing more complex images and design assets on PCB requires the use of not only the silkscreen layer but also the soldermask and copper layers. Begin by opening an image file to import, we'll be using this adorable drawing of a very good dog:
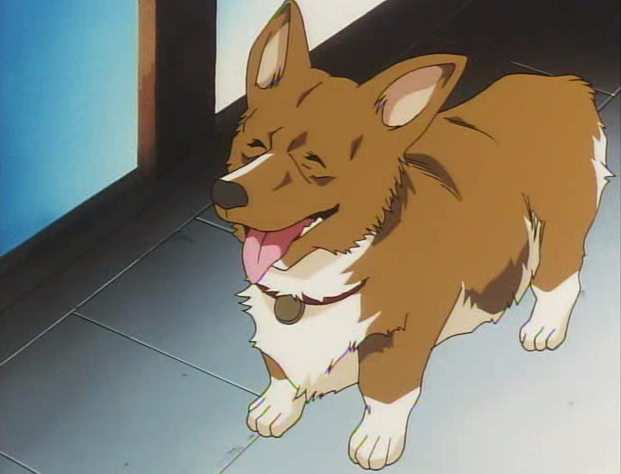
Because of the stacking order of the layers, it's often a good idea to start building your output image from the copper layer. Checking the "Render" box under the copper layer controls should present you with your image in a "copper" color:

It's suggested that you adjust the threshold of this layer before moving on to the next, but you can check "Render" on all layers at once and then adjust their respective threshold functions if you like. Next, we'll add the soldermask layer:
